Create Subnet
I. Create Public Subnet for NAT Gateway
- Create Public Subnet
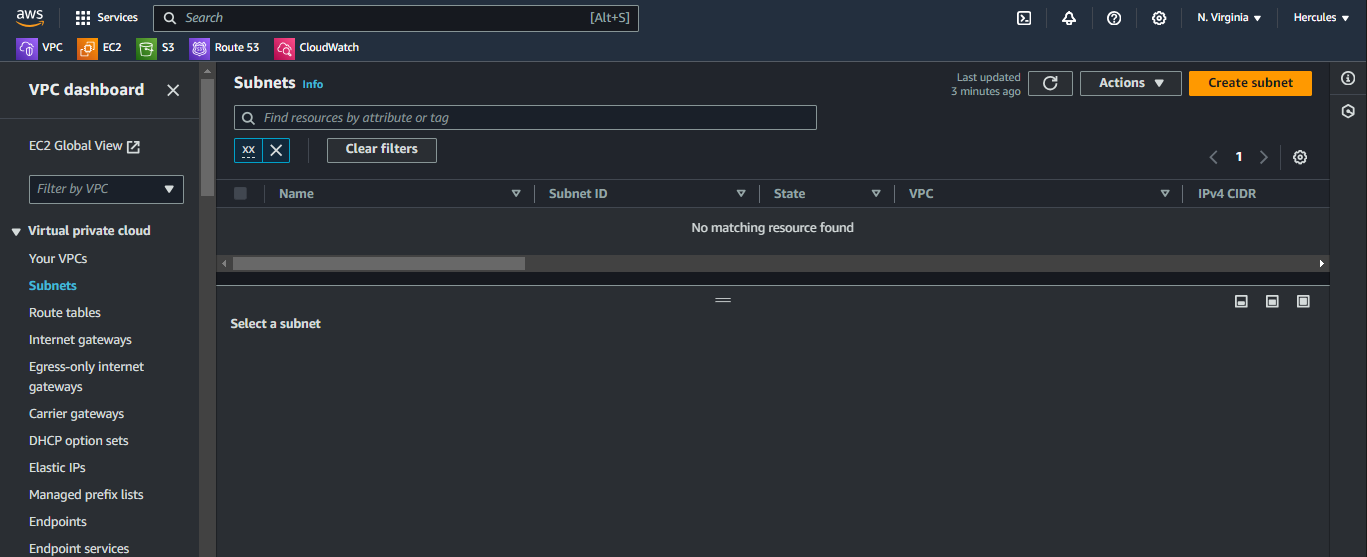
- Click Subnets.
- Click Create subnet.
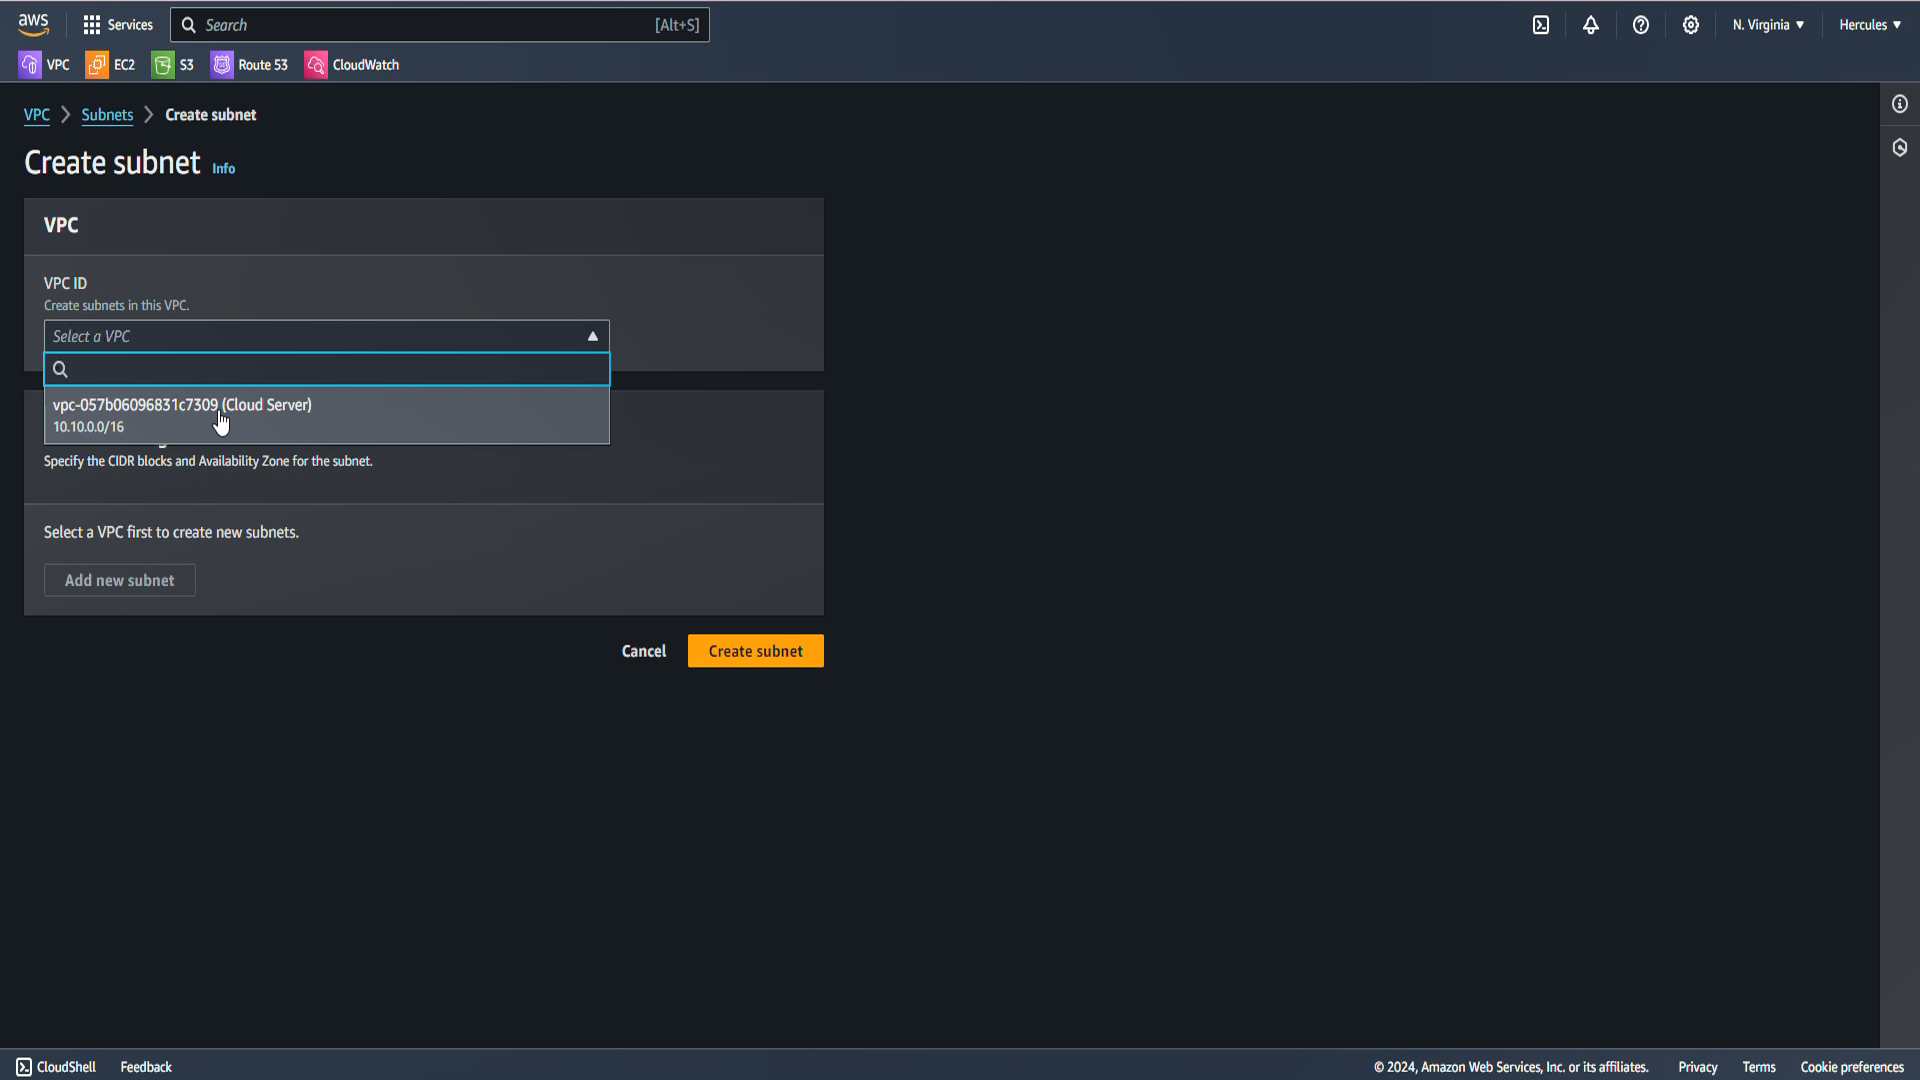
- At the Create subnet page.
- In the VPC ID section, click Cloud Server.
- In the Subnet name field, enter
Cloud-Subnet-Public. - In the Availability Zone section, select the first Availability zone.
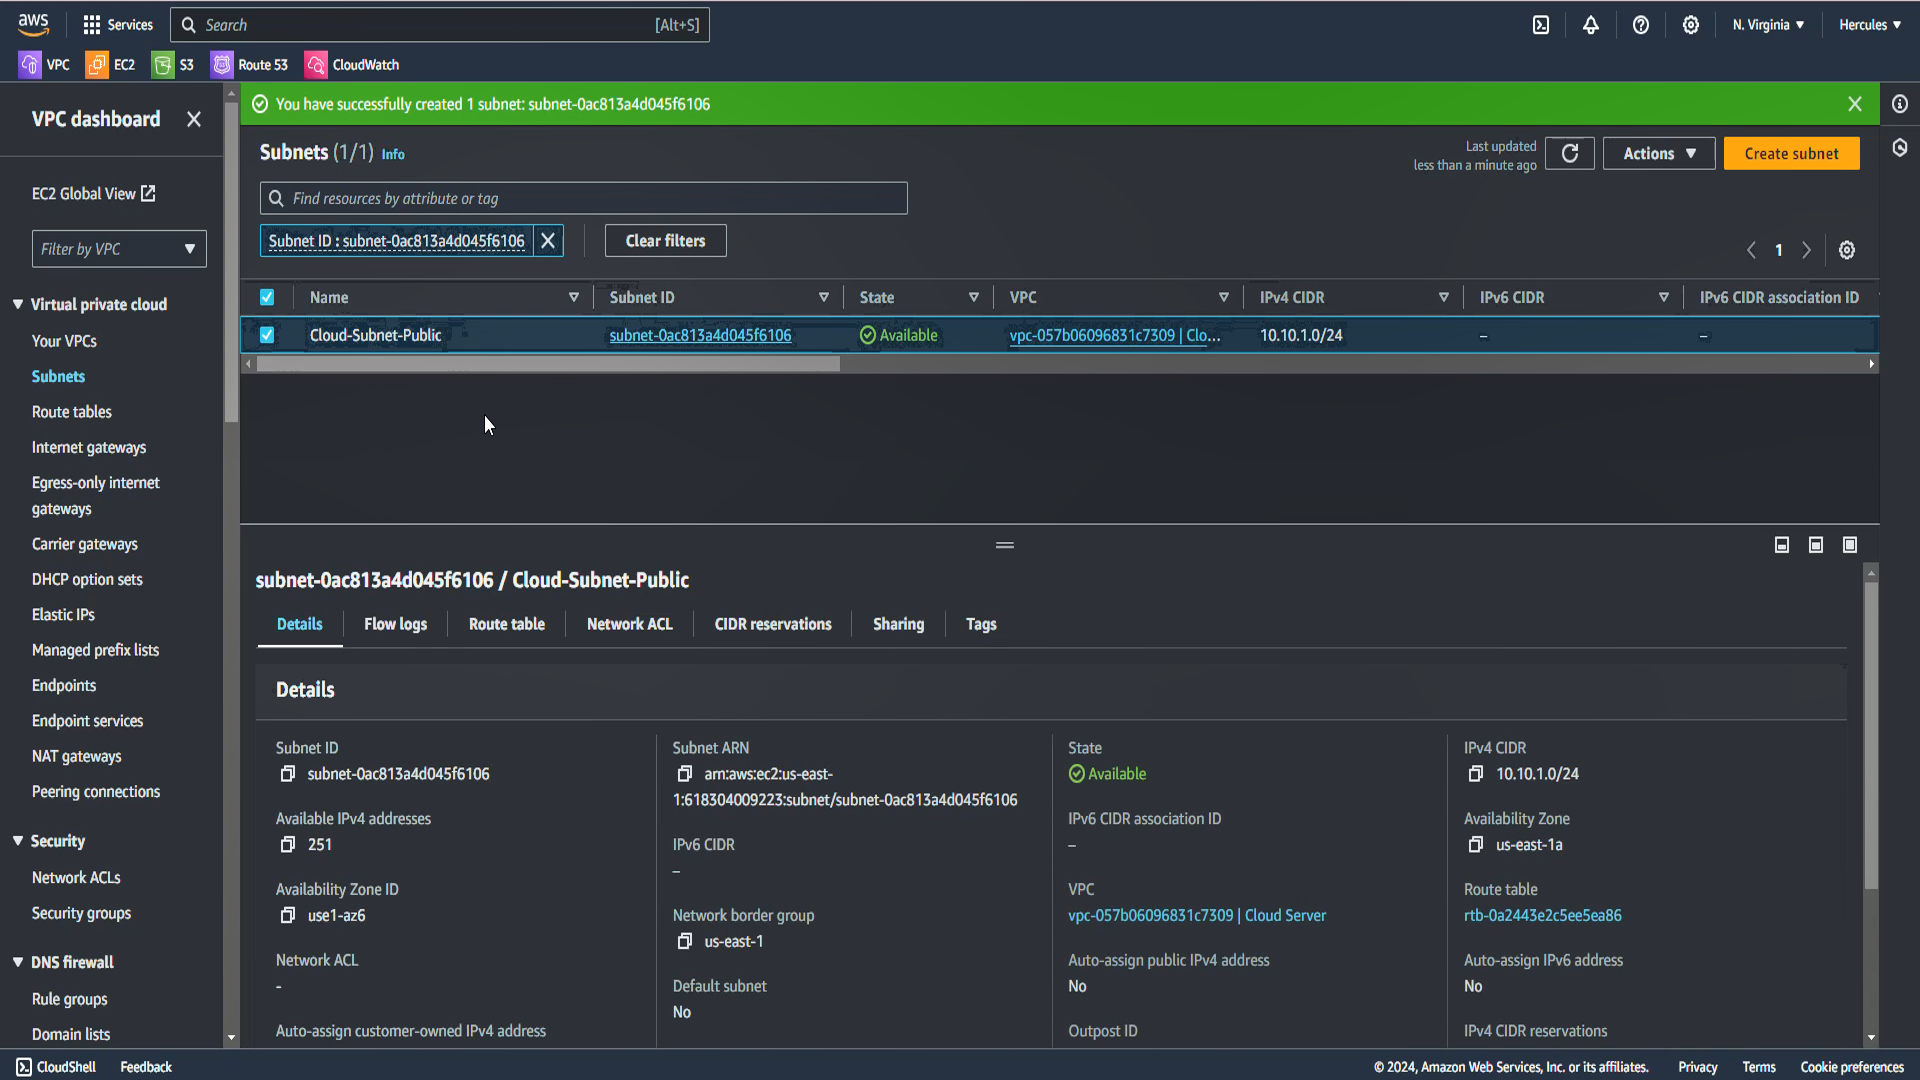
- In the field IPv4 CIRD block enter
10.10.1.0/24.

- Scroll to the bottom of the page, click Create subnet.
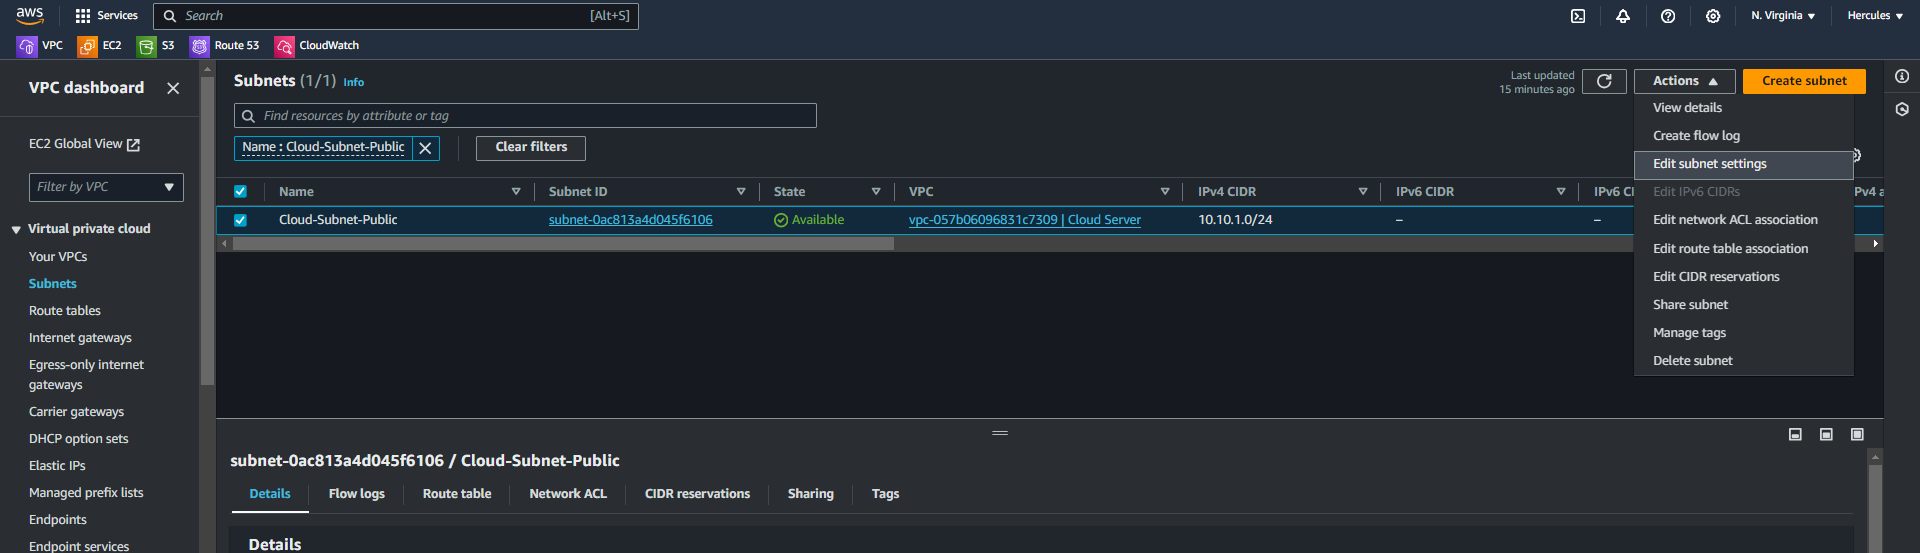
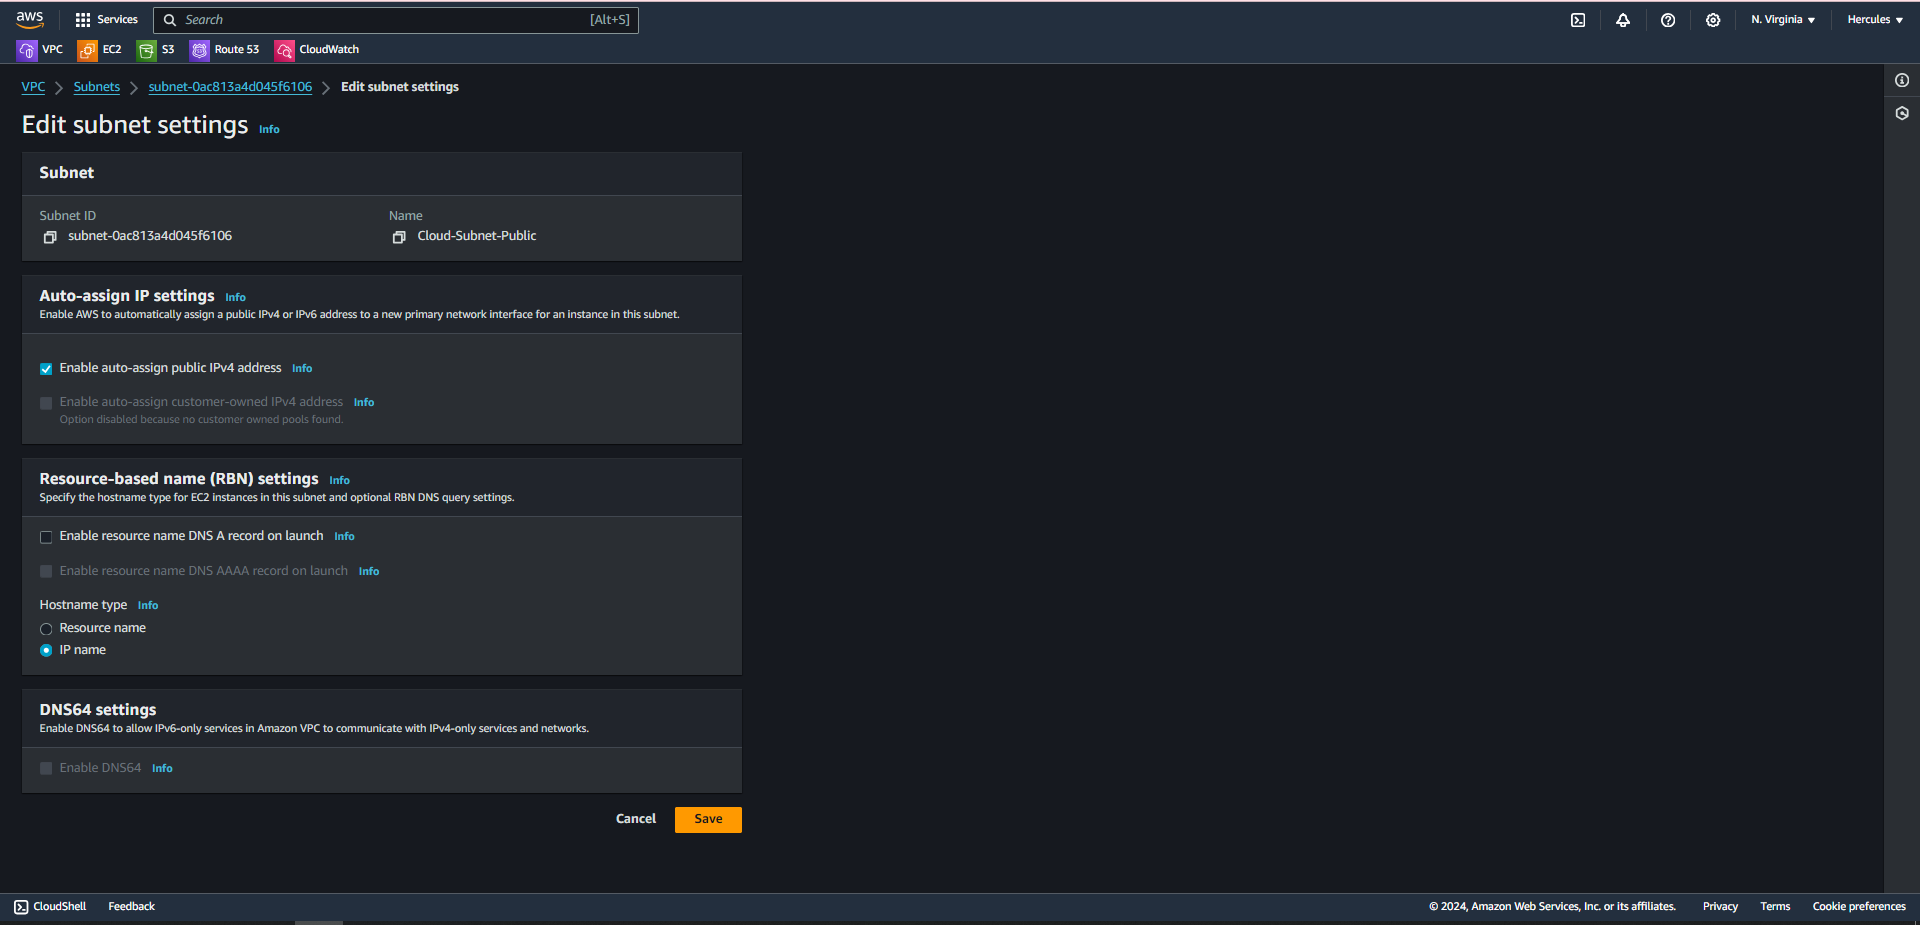
- Select Cloud-Subnet-Public checkbox and go to Edit subnet settings
- Click Actions.
- Click Edit subnet settings.
- Enable auto-assign public IPv4 address
- Click Enable auto-assign public IPv4 address.
- Click Save.
II. Create Private Subnet for EC2 instance server
Similiar to create public subnet, we click at Create subnet again to create private subnet:
- At the Create subnet page.
- In the VPC ID section, click Cloud Server.
- In the Subnet name field, enter
Cloud-Subnet-Private. - In the Availability Zone section, select the first Availability zone.
- In the field IPv4 CIRD block enter
10.10.2.0/24.

- Scroll to the bottom of the page, click Create subnet. For private subnet, we do not need to Enable auto-assign public IPv4 address.
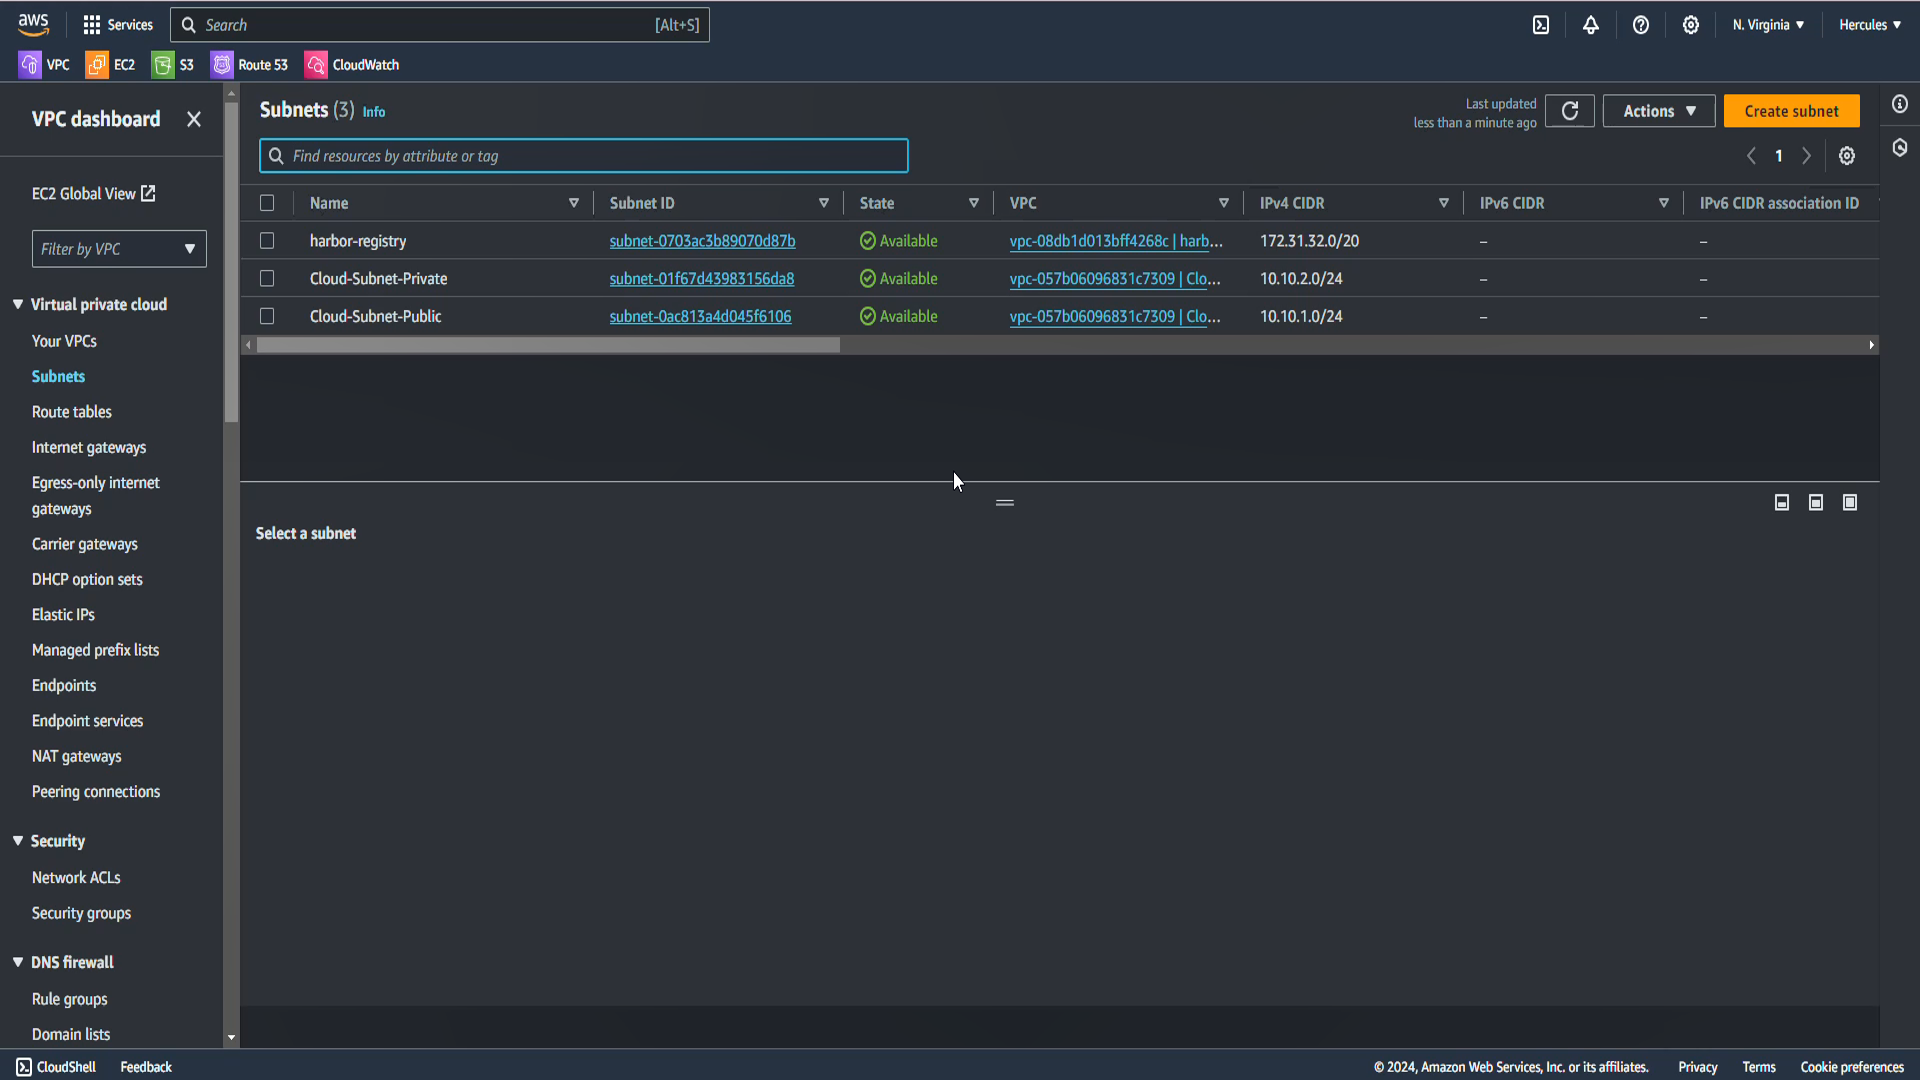
Finally, we can see the state of two subnets Available now: 10.10.1.0/24 - public subnet and 10.10.2.0/24 - private subnet.