Create Security Group
In this step, we will create the security groups used for our instances. These security groups specify to the VPC which connections are allowed or permitted. A security group acts as a virtual firewall that controls traffic for one or more instances. By default, AWS allows all outbound traffic but restricts inbound traffic. We only config the directions inbound in this lab.
Create security group for public subnet
Inbound rules:
| ID | Connection Types | Sources |
|---|---|---|
| 1. | Ping (ICMP - IPv4) | 0.0.0.0/0 (anywhere) |
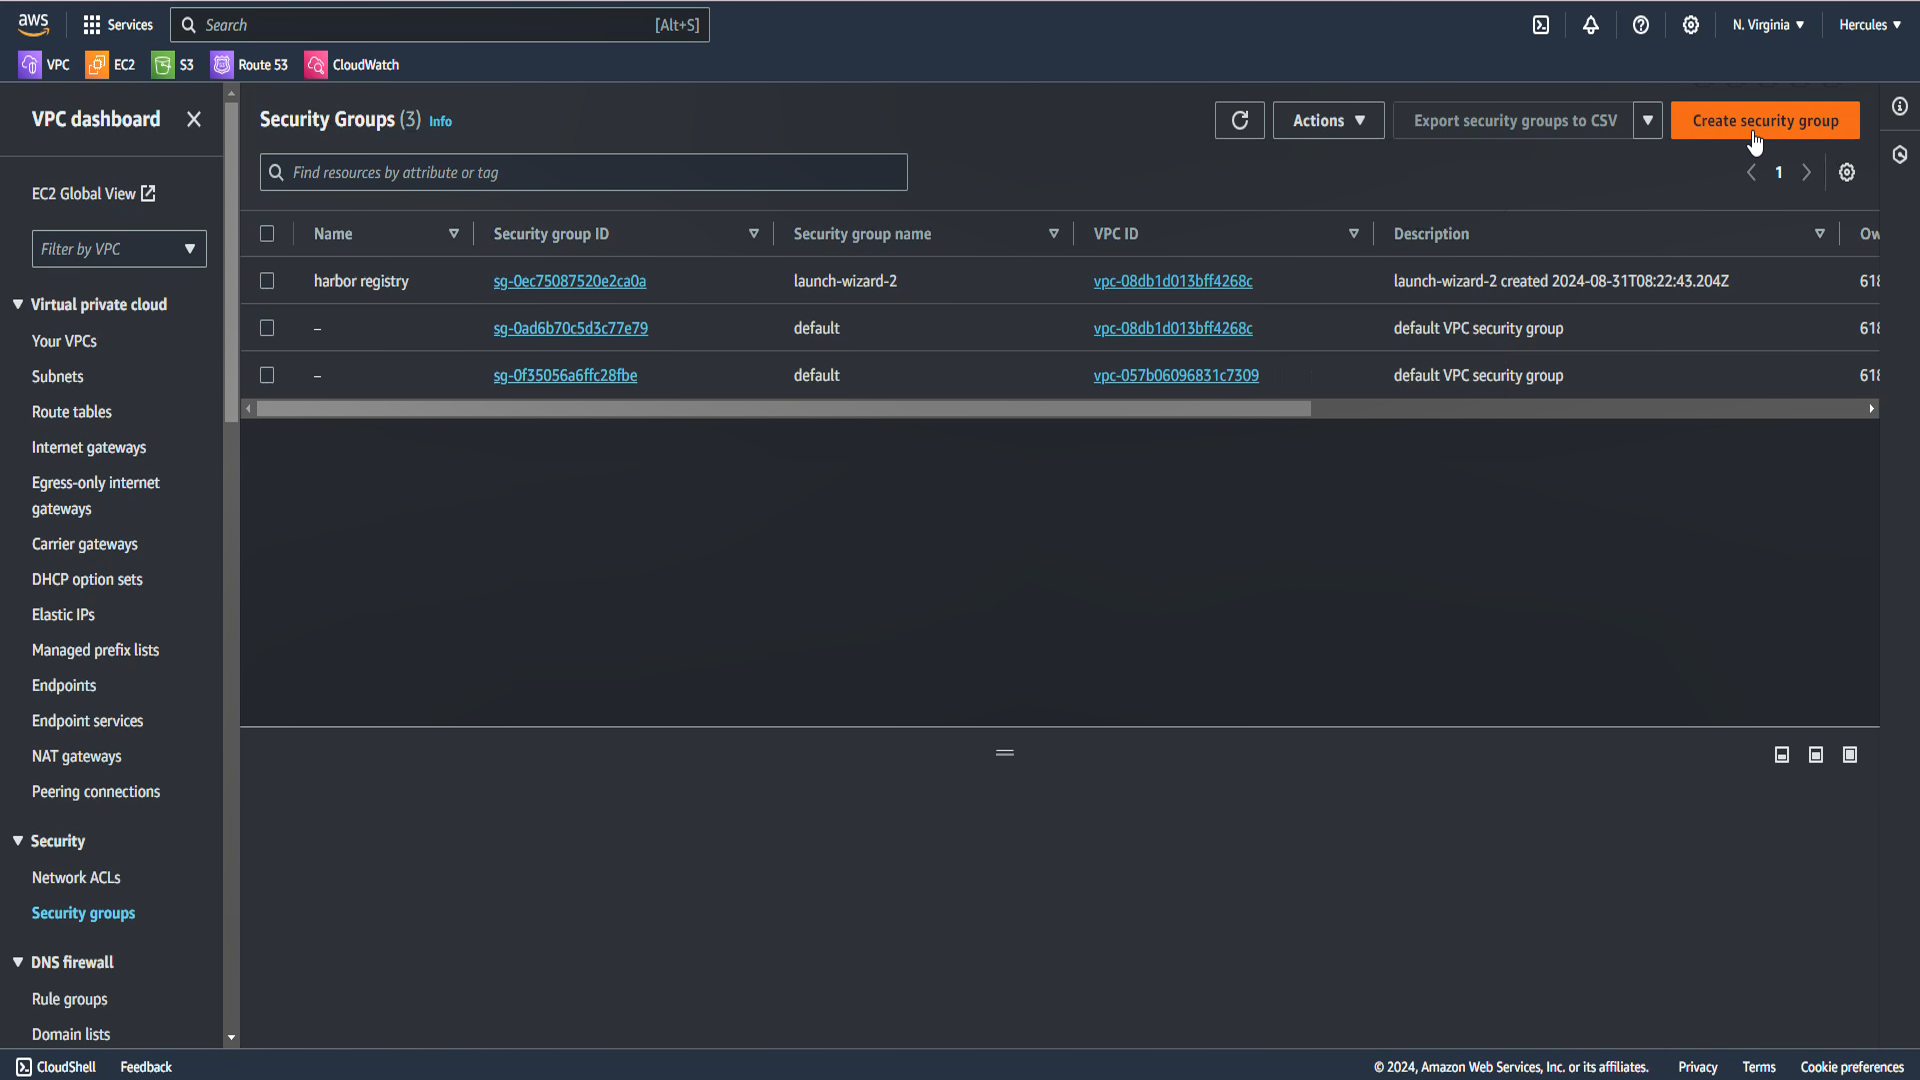
- Go to VPC Dashboard
- Click Security Group.
- Click Create security group.
In the Security group name section, enter
Cloud-SG-Public.- In the Description section, enter
Allow ping for public subnet. - In the VPC section, select the Cloud Server VPC.
- In the Description section, enter
Config Inbound rules
Choose Add rule:
- In the Type section, choose Custom ICMP - IPv4 to allow ping from IPv4.
- In the Source type section, select Anywhere - IPv4 to allow ping from internet.
And we keep Outbound rules as the default.

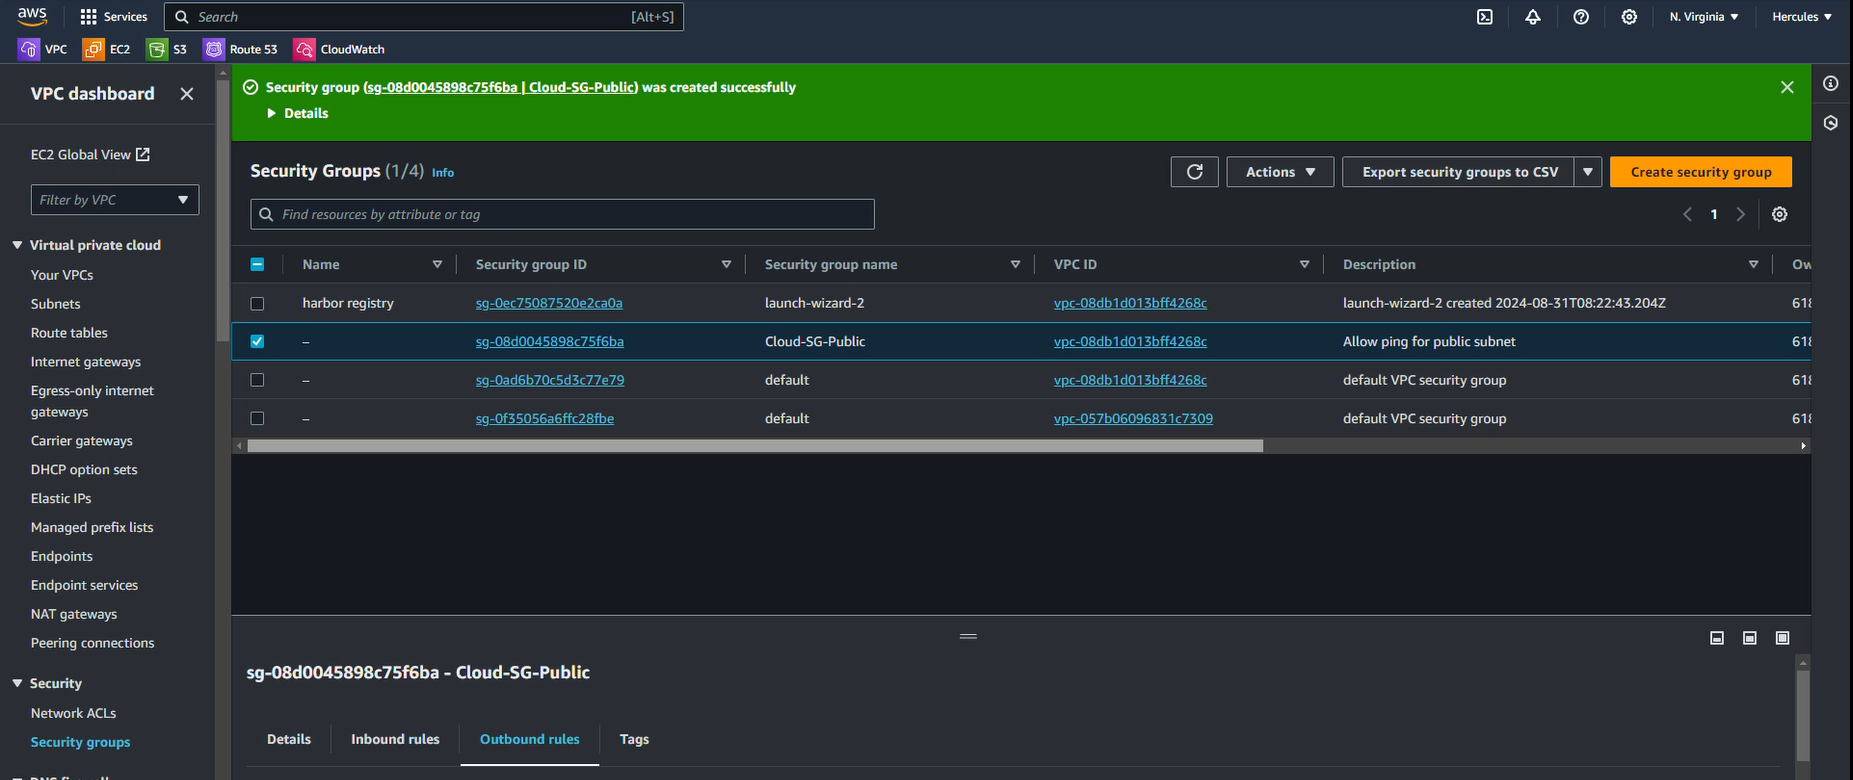
Scroll down at the bottom of page and click at Create security group. The result will show as below:
II. Create security group for private subnet
After successfully creating a security group for the public subnet, we continue to create security group for instance located in private subnet.
Inbound rules:
| ID | Connection Types | Sources |
|---|---|---|
| 1. | SSH | 192.168.1.0/24 (LAN of Data Server) |
| 2. | Ping (ICMP - IPv4) | 0.0.0.0/0 (everywhere) |
Go to VPC dashboard, choose Security groups and click Create security group again.
In the Security group name section, enter
Cloud-SG-Private.- In the Description section, enter
Allow ping, SSH for server in private subnet. - In the VPC section, select the Cloud Server VPC.
- In the Description section, enter
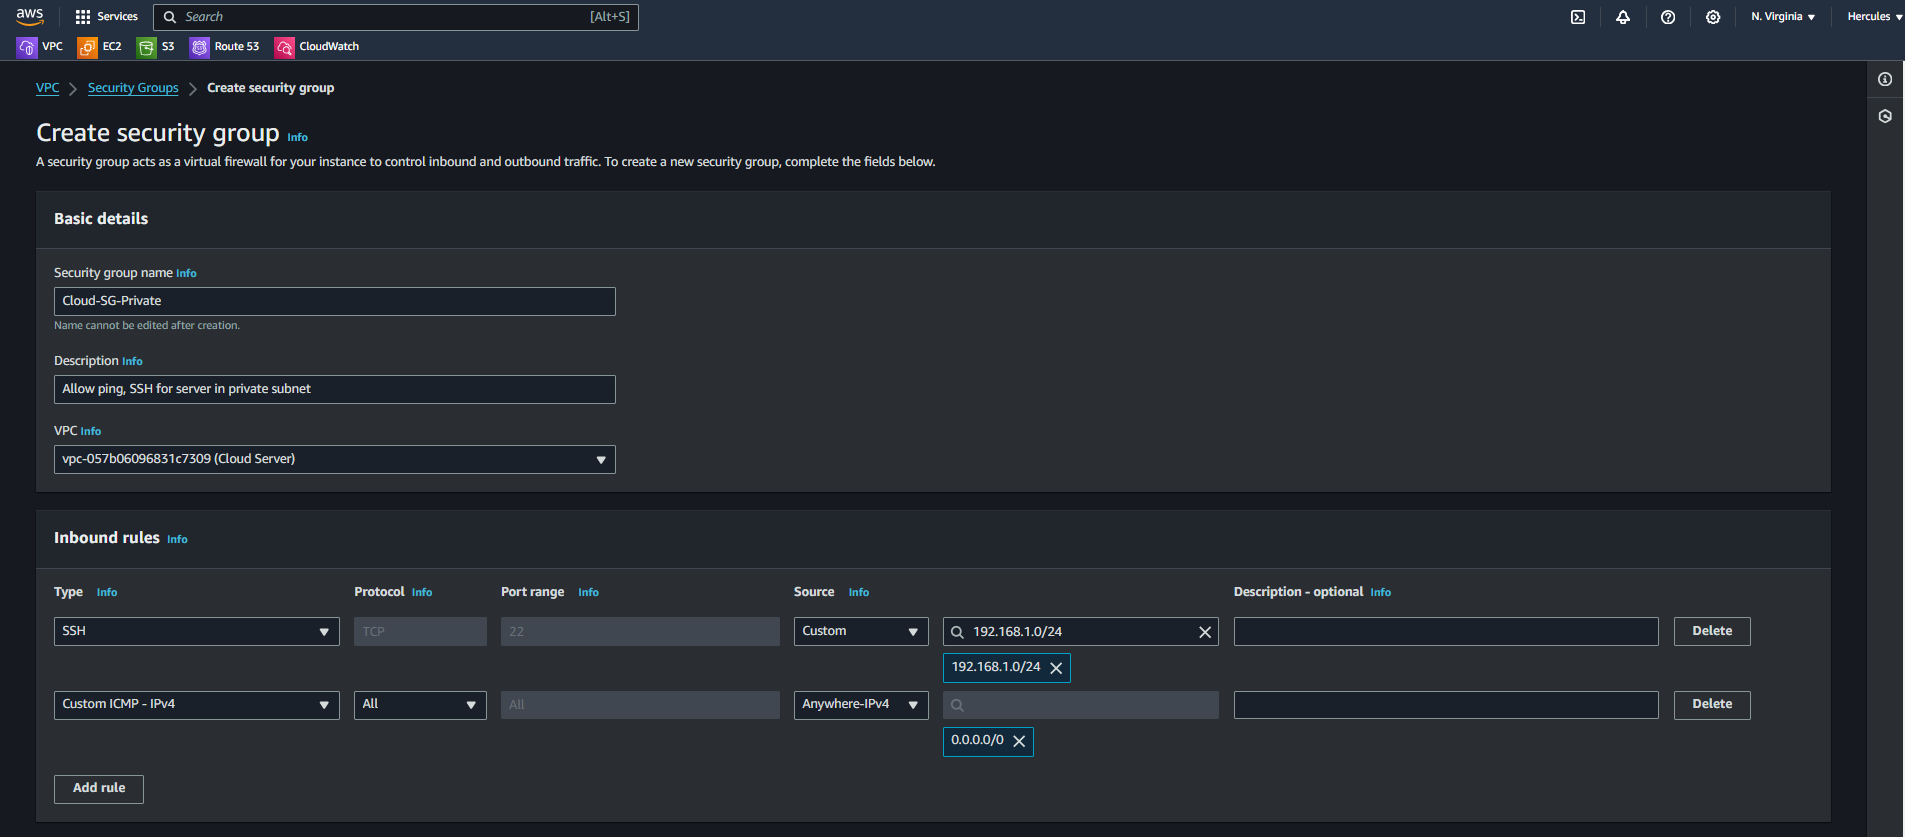
Config Inbound rules
Choose Add rule:
- In the Type section, choose SSH.
- In the Source type section, select Custom and type
192.168.1.0/24
Continue choose Add rule:
- In the Type section, choose Custom ICMP - IPv4 to allow ping from IPv4.
- In the Source type section, select Anywhere - IPv4 to allow ping from internet.
And we keep Outbound rules as the default.
Scroll down at the bottom of page and click at Create security group. The result will be shown as below:
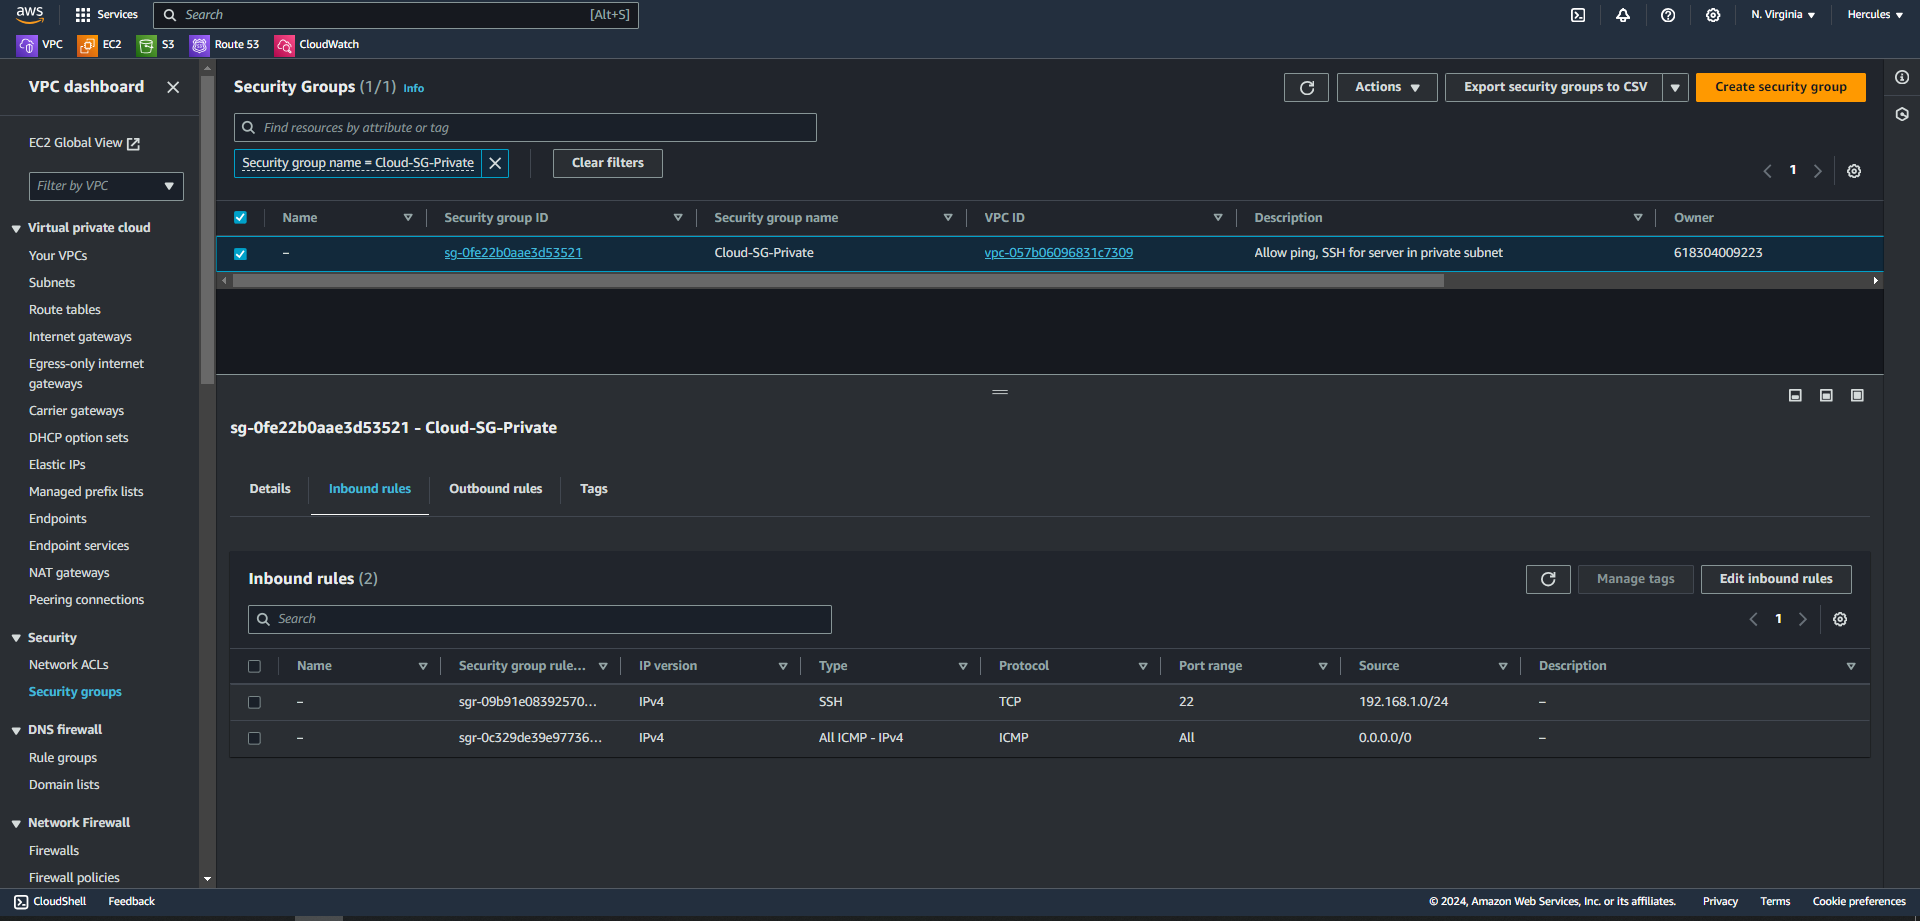
So we have finished creating the necessary security groups for the EC2 instances.