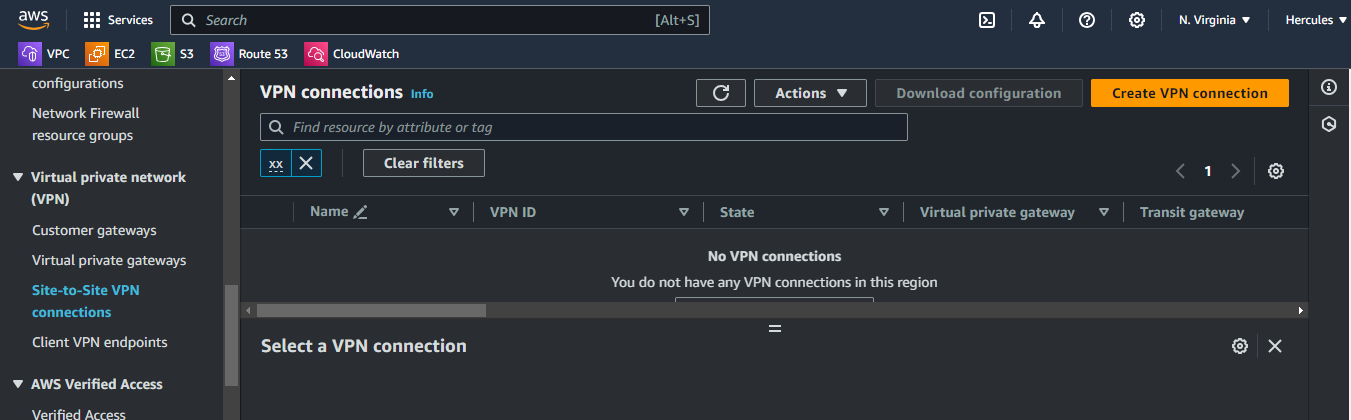
Create VPN connection
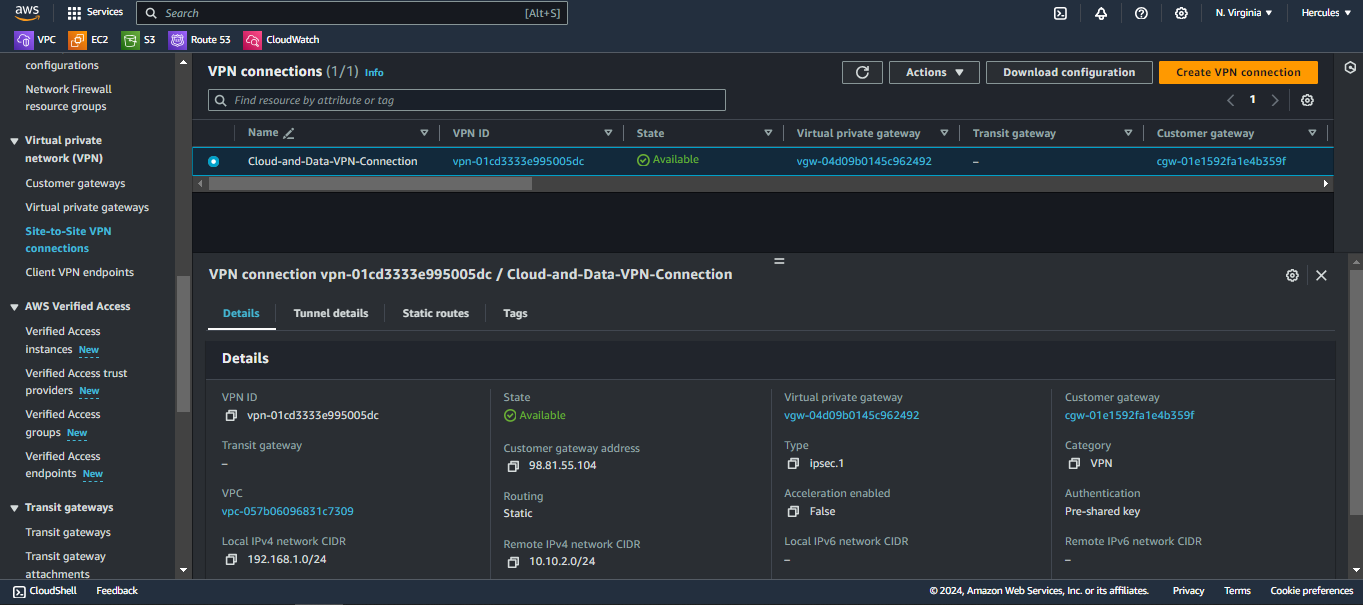
VPN Connection
- Choose Site-to-Site VPN connections
- Click at Create VPN connection button
- In Details page.
- Enter name of the connection:
Cloud-and-Data-VPN-Connection. - In Target gateway type field: choose Virtual private gateway.
- In Virtual private gateway field: choose Cloud-VPN-GW.
- Choose Existing in Customer gateway .
- In Customer gateway ID field: choose Data-CGW .
- In Routing options field: choose Static.
- In Static IP prefixes field: enter
192.168.1.0/24. You can enter one or more IP prefixes in CIDR notation of Data Server (on-premises) separated by commas to advertise to Cloud Server VPC. - In Local IPv4 network CIDR field: enter
192.168.1.0/24. - In Remote IPv4 network CIDR field: enter
10.10.2.0/24.
Scroll down and click Create VPN connection.

- Wait about 5 minutes or more to change state of VPN connection from Pending to Available.
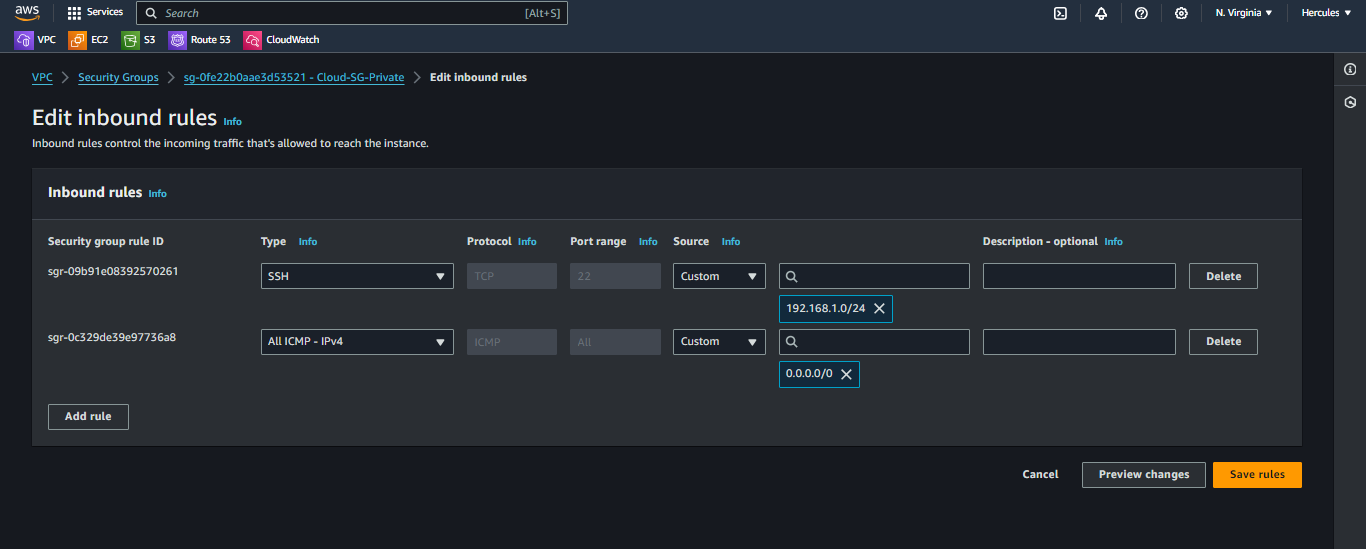
- Edit Cloud-SG-Private security groups to allow SSH connection from CIDR:
192.168.1.0/24.
- Go to Security Groups
- Select Cloud-SG-Private and choose Action.
- Click on Edit inbound rules.

- Add SSH connection.
- Click on Add rule.
- Choose SSH in Type column.
- Choose Custom source and enter
192.168.1.0/24. - Click Save rules to apply.
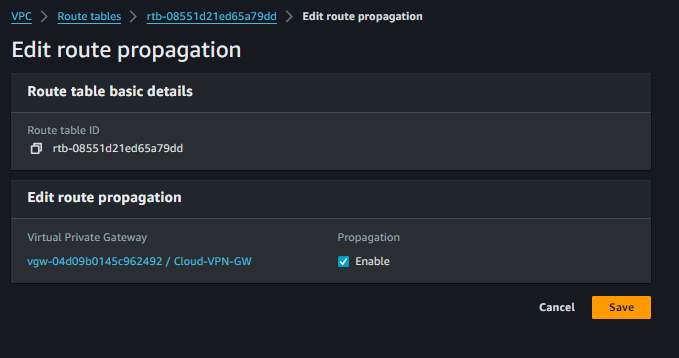
- Apply new Route Propagation for private subnet.
- Go to Route tables
- Select Cloud-RT-Private and choose Action.
- Click on Edit route propagation.
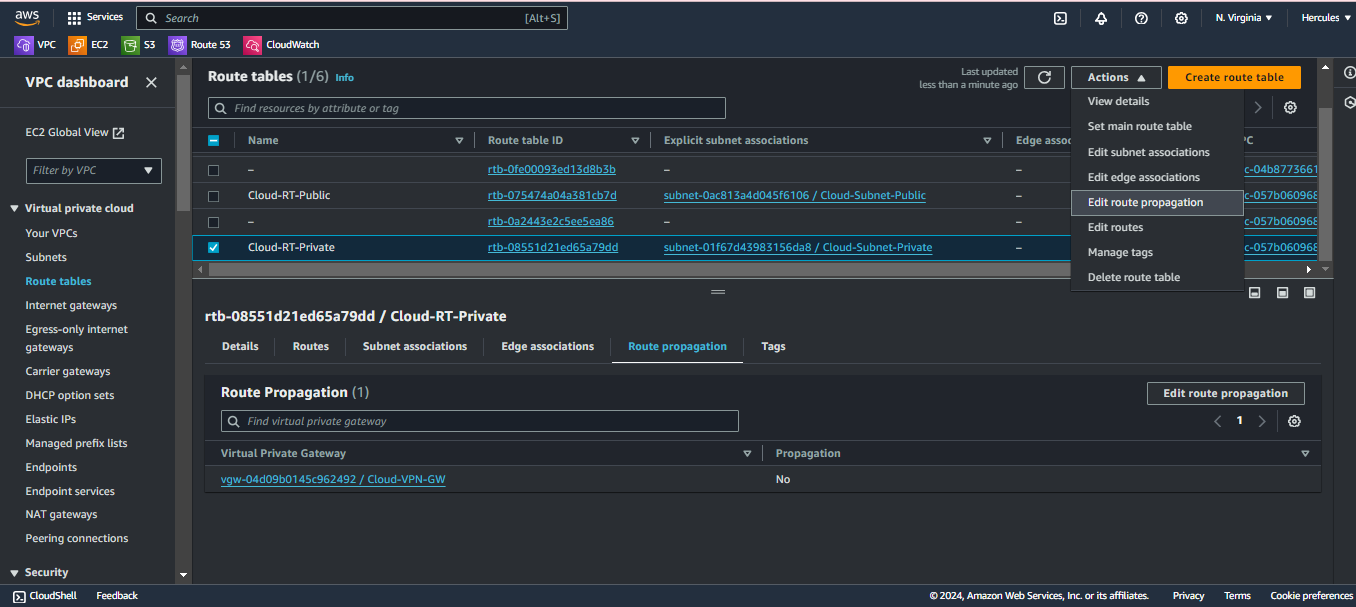
- Choose Enable in the Propagation column and click Save.
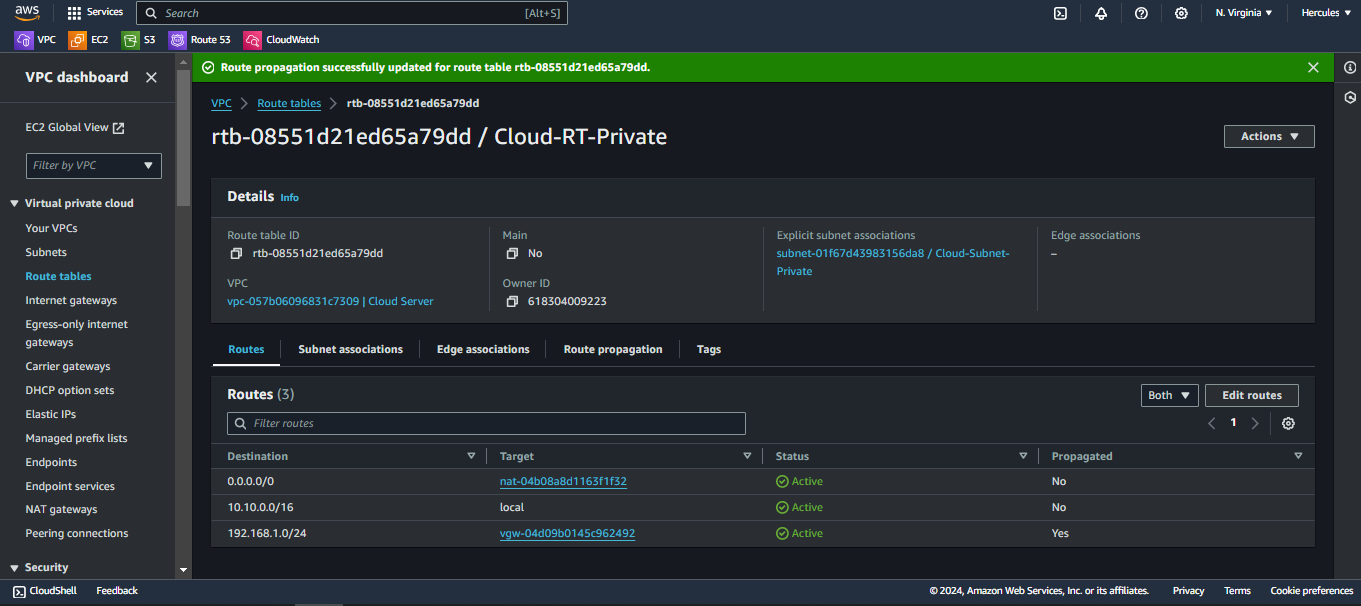
- My routing table after applying new Route Propagation.
The next step is to configure LibreSwan to make VPN connection to AWS.