Setup VPN Connection
1 Getting VPN configuration
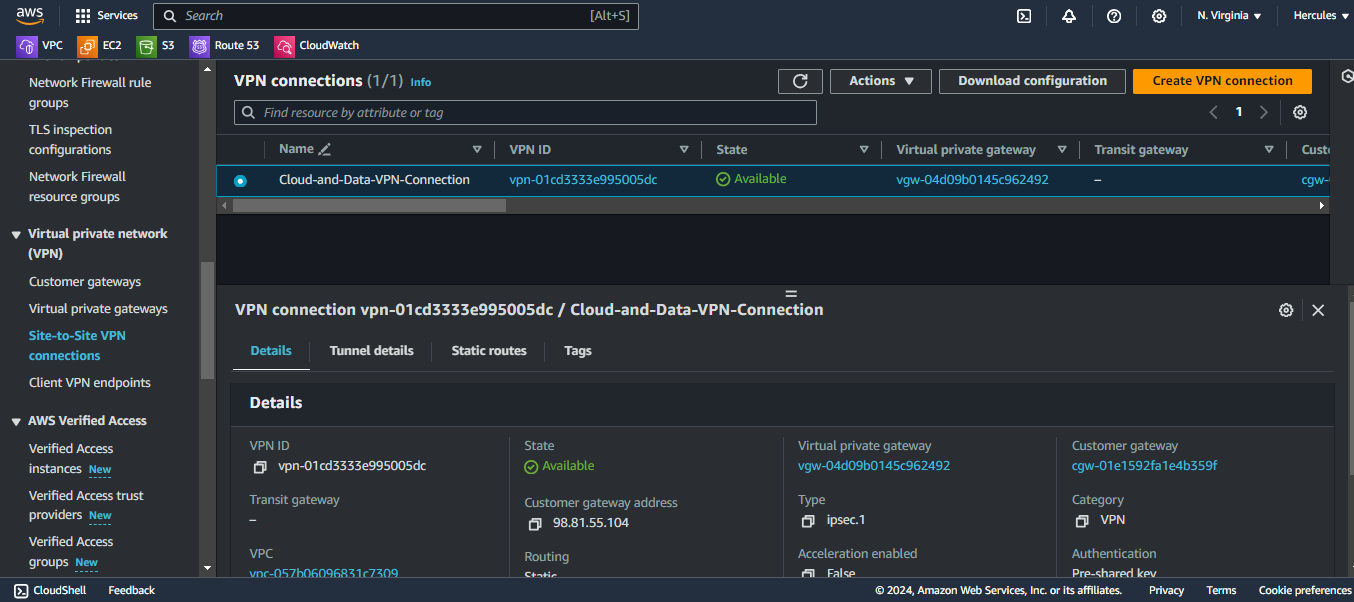
Go to Site-to-Site VPN connections.
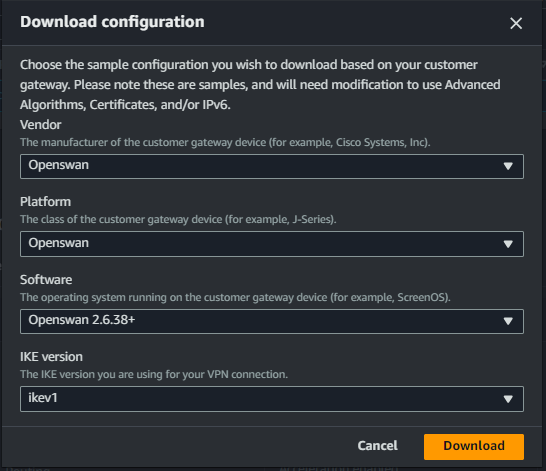
Choose Cloud-and-Data-VPN-Connection and click Download configuration button.
Select Openswan and Download your file in your local computer.
Our content of VPN configuration like that:
Amazon Web Services
Virtual Private Cloud

......

----------------------------------------------------------
IPSEC Tunnel #1
----------------------------------------------------------
conn Tunnel1
	authby=secret
	auto=start
	left=%defaultroute
	leftid=98.81.55.104
	right=44.207.138.55
	type=tunnel
	ikelifetime=8h
	keylife=1h
	phase2alg=aes128-sha1;modp1024
	ike=aes128-sha1;modp1024
	auth=esp
	keyingtries=%forever
	keyexchange=ike
	leftsubnet=<LOCAL NETWORK>
	rightsubnet=<REMOTE NETWORK>
	dpddelay=10
	dpdtimeout=30
	dpdaction=restart_by_peer


----------------------------------------------------------
IPSEC Tunnel #2
----------------------------------------------------------
conn Tunnel2
	authby=secret
	auto=start
	left=%defaultroute
	leftid=98.81.55.104
	right=52.22.180.202
	type=tunnel
	ikelifetime=8h
	keylife=1h
	phase2alg=aes128-sha1;modp1024
	ike=aes128-sha1;modp1024
	auth=esp
	keyingtries=%forever
	keyexchange=ike
	leftsubnet=<LOCAL NETWORK>
	rightsubnet=<REMOTE NETWORK>
	dpddelay=10
	dpdtimeout=30
	dpdaction=restart_by_peer
We have to edit some VPN configuration:
auth=esp# removing this line to avoid conflict from AWSphase2alg=aes128-sha1;modp1024# change tomodp2048=> we use IKEv2ike=aes128-sha1;modp1024# change tomodp2048=> we use IKEv2leftsubnet=<LOCAL NETWORK># CIDR on-premise Your EC2-Customer-Gateway Private IPrightsubnet=<REMOTE NETWORK># CIDR aws server Your EC2-Cloud Private IP
- #leftsubnet = is the local network behind your openswan server, and you will need to replace the
<LOCAL NETWORK>below with this value (don’t include the brackets). If you have multiple subnets, you can use0.0.0.0/0instead. - #rightsubnet = is the remote network on the other side of your VPN tunnel that you wish to have connectivity with, and you will need to replace
<REMOTE NETWORK>with this value (don’t include brackets).
The complete configuration is shown below
conn Tunnel1
        authby=secret
        auto=start
        left=%defaultroute
        leftid=98.81.55.104
        right=44.207.138.55
        type=tunnel
        ikelifetime=8h
        keylife=1h
        phase2alg=aes128-sha1;modp2048
        ike=aes128-sha1;modp2048
        keyingtries=%forever
        keyexchange=ike
        leftsubnet=192.168.1.0/24
        rightsubnet=10.10.2.0/24
        dpddelay=10
        dpdtimeout=30
        dpdaction=restart_by_peer

conn Tunnel2
        authby=secret
        auto=start
        left=%defaultroute
        leftid=98.81.55.104
        right=52.22.180.202
        type=tunnel
        ikelifetime=8h
        keylife=1h
        phase2alg=aes128-sha1;modp2048
        ike=aes128-sha1;modp2048
        keyingtries=%forever
        keyexchange=ike
        leftsubnet=192.168.1.0/24
        rightsubnet=10.10.2.0/24
        dpddelay=10
        dpdtimeout=30
        dpdaction=restart_by_peer
2. Apply VPN configuration
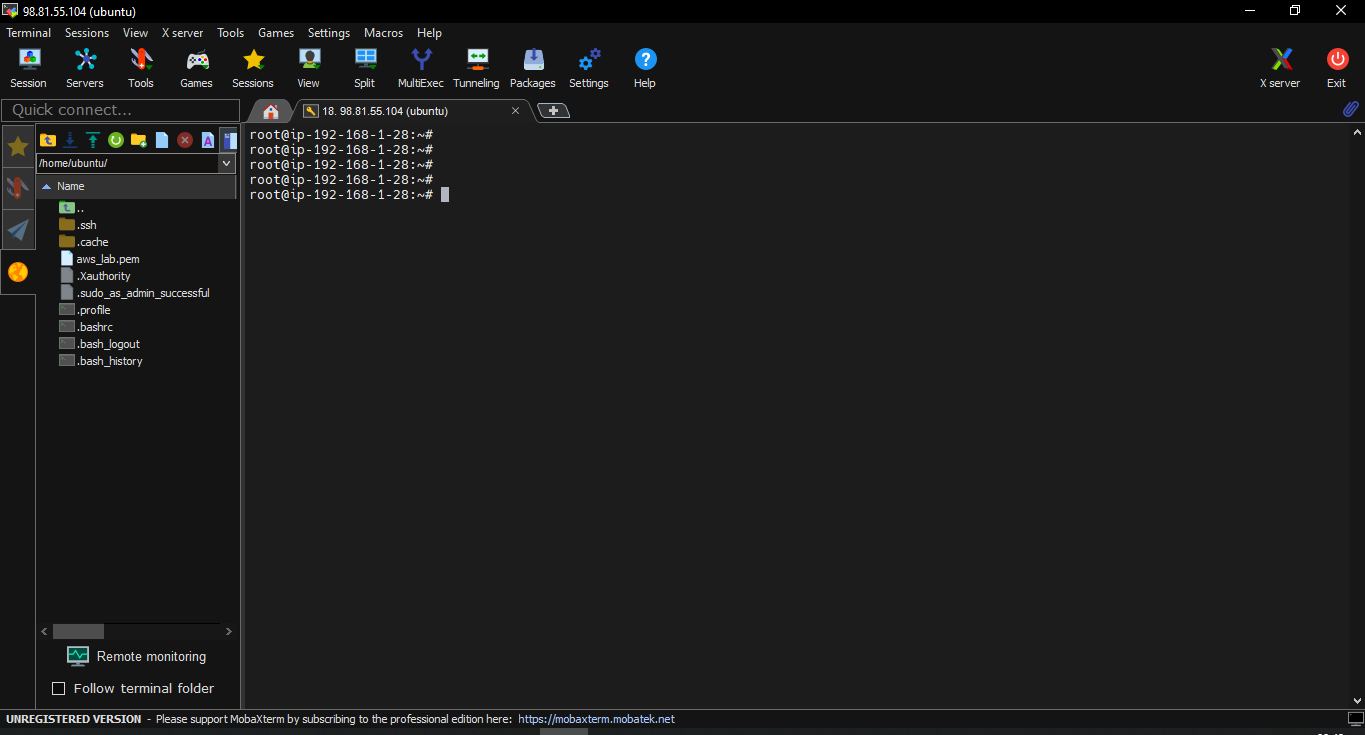
- Go back to MobaXterm at Connect to EC2 Customer Gateway step and switching user
rootuser by this command:
sudo -i
- Check the following values to match in
/etc/sysctl.conffile- net.ipv4.ip_forward = 1
- net.ipv4.conf.default.rp_filter = 0
- net.ipv4.conf.default.accept_source_route = 0
grep -v "^#" /etc/sysctl.conf
If you can not see these values, please run this command to add:
echo 'net.ipv4.ip_forward = 1
net.ipv4.conf.default.rp_filter = 0
net.ipv4.conf.default.accept_source_route = 0' >> /etc/sysctl.conf
sysctl -p # applying new change
- Ensure that the # in front of the line
#include /etc/ipsec.d/*.confhas been removed
grep -E '^include' /etc/ipsec.conf
If you can not see include /etc/ipsec.d/*.conf, please run following command to add:
echo "include /etc/ipsec.d/*.conf" >> /etc/ipsec.conf
- Create a new file at
/etc/ipsec.d/aws.confand append the complete configuration to the end in the file:
nano /etc/ipsec.d/aws.conf # create a new file

# remember to copy Tunnel VPN configuration to this file => Press Ctrl+O and Enter to save
- Open your VPN configuration file and create a new file at
/etc/ipsec.d/aws.secretsif it doesn’t already exist, and append this line to the file (be mindful of the spacing!):
nano /etc/ipsec.d/aws.secrets
# Copy and Paste Tunnel1: 98.81.55.104 44.207.138.55: PSK "PMOWMNcpovHy1nYApcENvsvkzTyL0Ux1"
# Copy and Paste Tunnel2: 98.81.55.104 52.22.180.202: PSK "Gku9_qMyjMnwX9yaEeBVJjMrdndG.Gy0"
The result of adding secrets for tunnels:

Finally, we will apply and run ipsec to make the VPN connection:
sudo netplan apply
sudo systemctl enable ipsec # allow start-up with system
sudo systemctl start ipsec
sudo systemctl status ipsec # checking status
3. Checking status of VPN connection
- If you want to check status, you can check by following command:
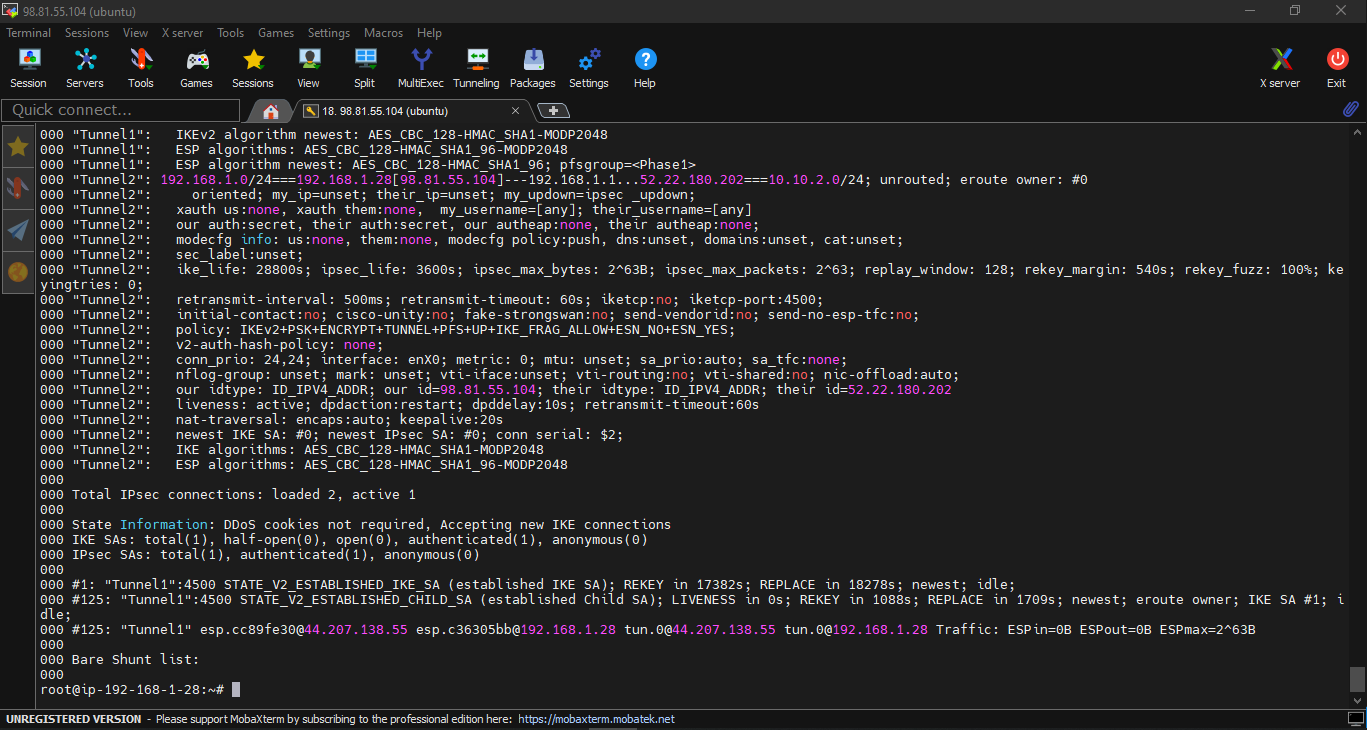
sudo ipsec status
You can see the line: Total IPsec connections: loaded 2, active 1. It mean that 02 configurations of the tunnel is loaded and 01 tunnel is running.
In AWS VPN, typically one tunnel is active while the other remains passive as a failover. The passive tunnel becomes active only if the primary tunnel goes down. AWS’s default setup is usually an active-passive model for failover purposes.
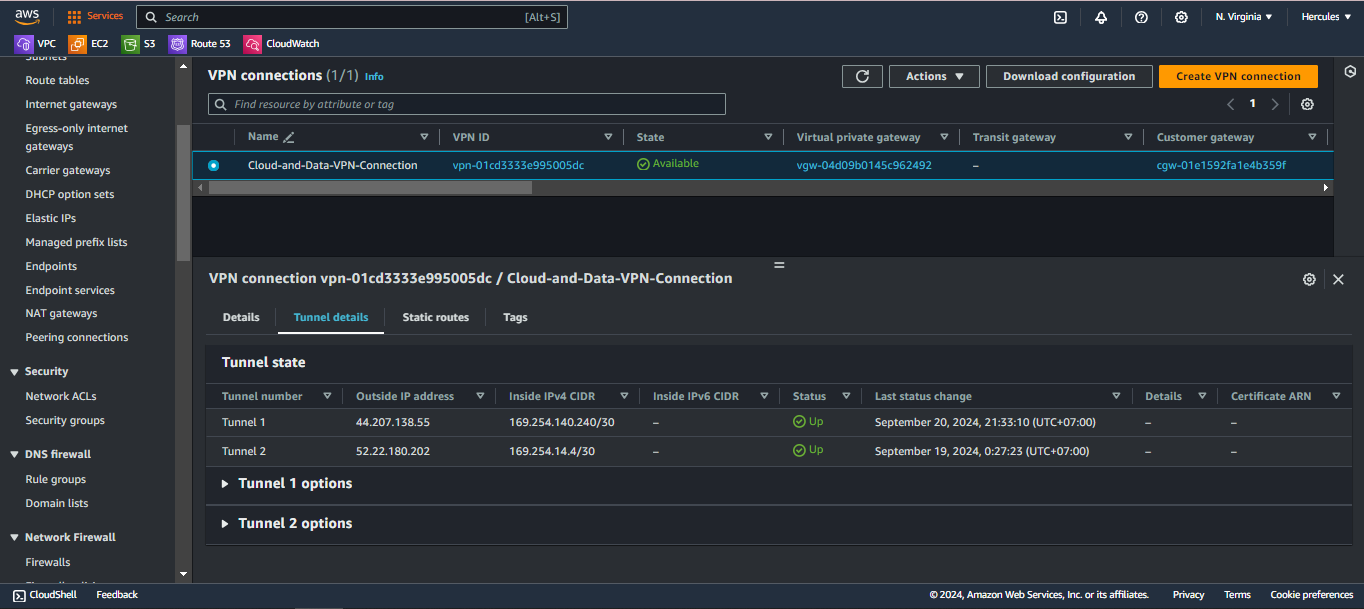
- Go to Site-to-site VPN connections and check the state of VPN connection is Up now.
- Ping to private CIDR of AWS VPC: Your EC2-Cloud Private IP

- SSH to EC2-Cloud:
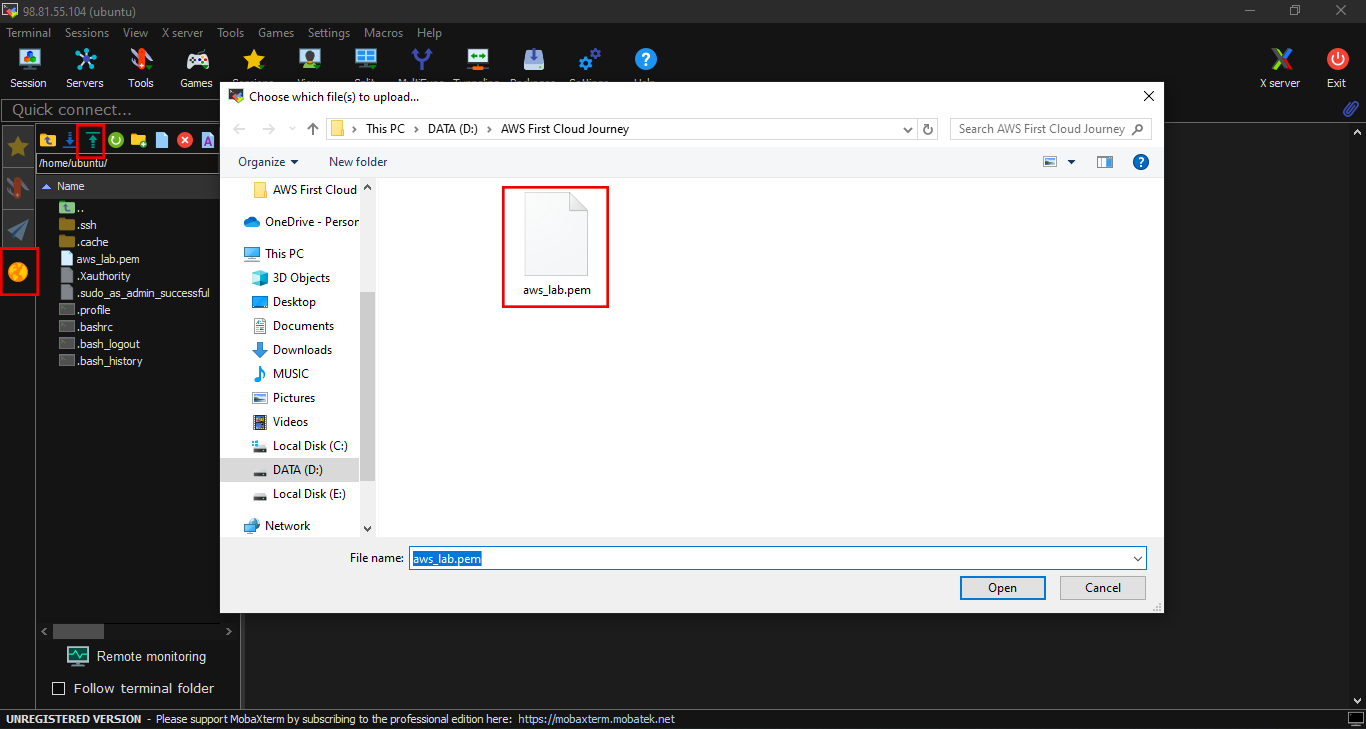
First, we have to copy aws_key.pem to inside Data Customer Gateway (ubuntu server). Choose SSH browser in left panel.
Choose path /home/ubuntu or any directory. Select aws_key.pem file to import.
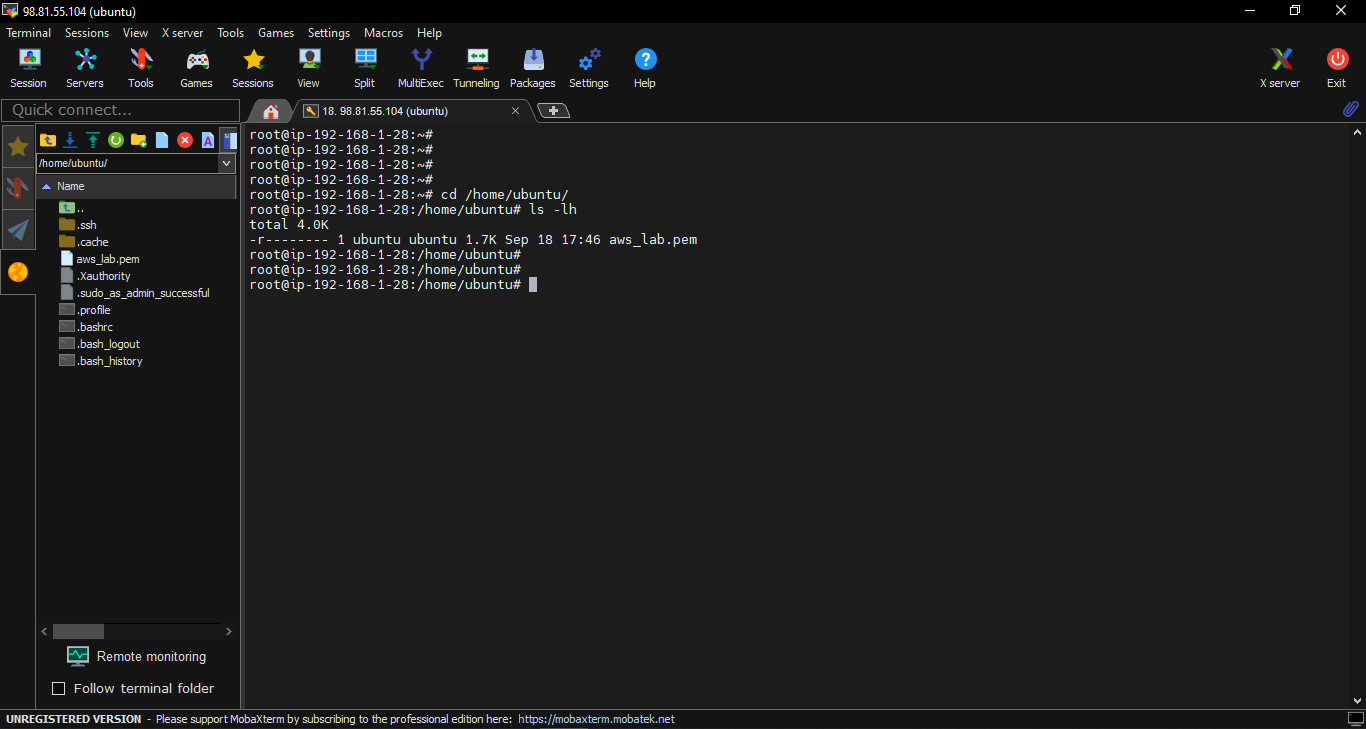
Checking aws_key.pem permission
ls -lh
Change permission aws_key.pem to read-only and SSH to EC2-Cloud server:
chmod 400 aws_key.pem
ssh -i aws_key.pem ubuntu@10.10.2.162
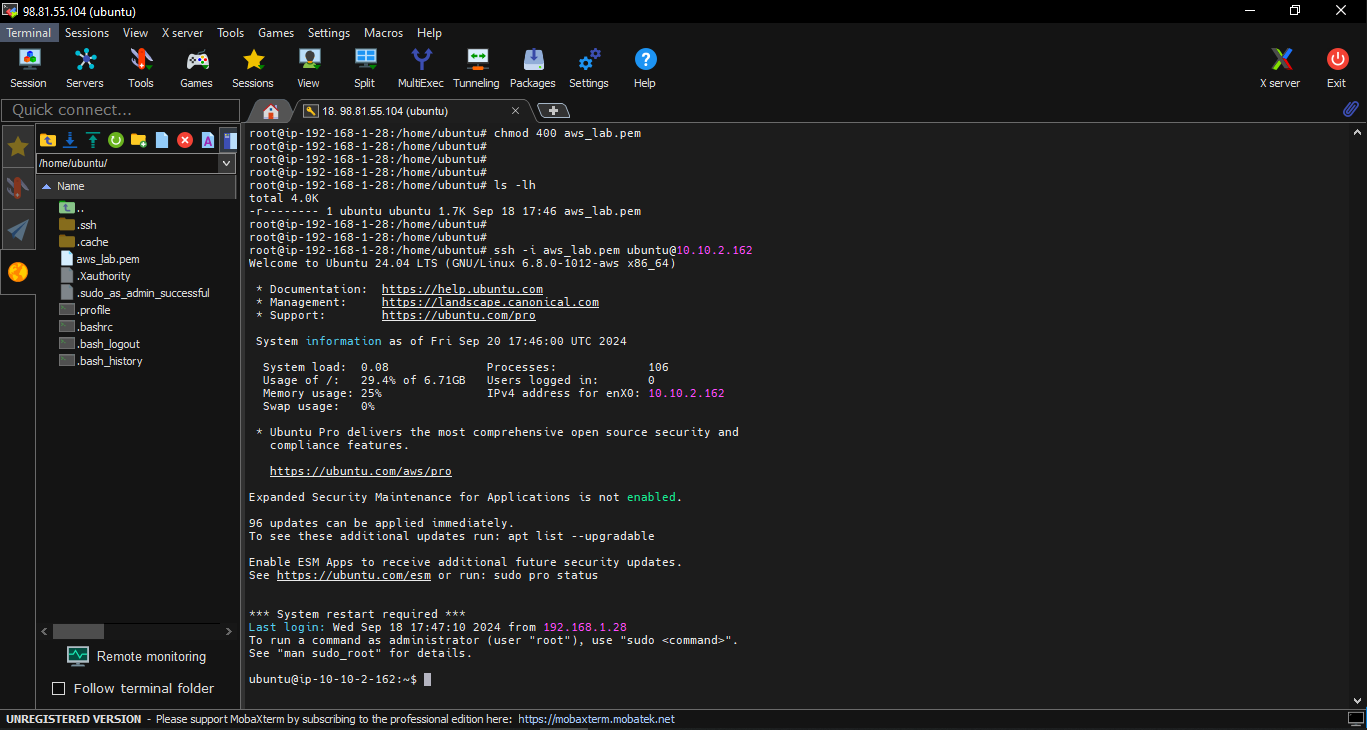
As you can see, we’ve successfully established an SSH connection through a VPN tunnel, ensuring that our private server is securely controlled. No one but you can access your AWS server. For even greater security, you can specify exactly which IP addresses or smaller subnets are allowed to connect, rather than permitting an entire subnet.
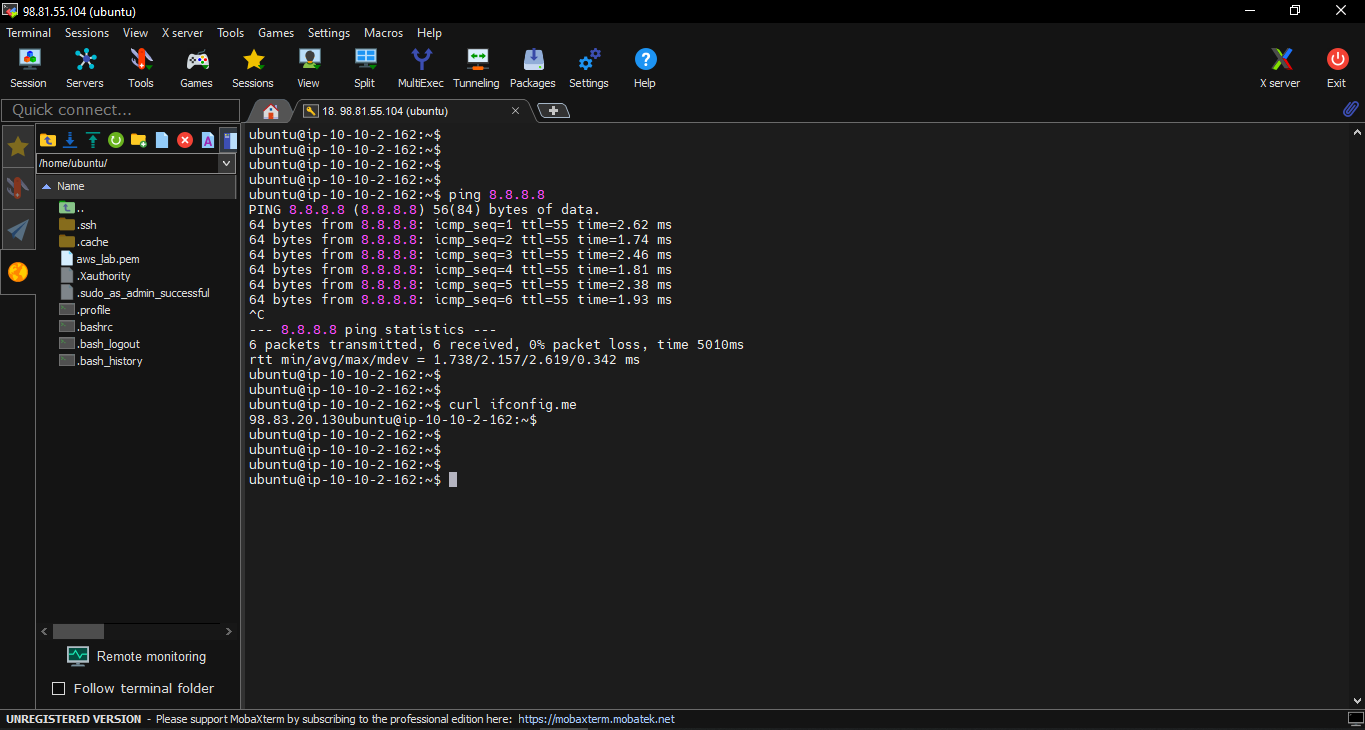
Testing connection through NAT gateway, and getting current ip through internet: Get your NAT gateway IP
Some commnands you may need to debug in ipsec:
# manual load Tunnel1 configuration
ipsec auto --add Tunnel1

# manual turn on Tunnel1 configuration
ipsec auto --up Tunnel1

# checking ipsec status
ipsec status